Programming Project #5: Diffusion Models
CS180: Intro to Computer Vision and Computational Photography
Overview
Implement and deploy diffusion models for image generation
Part 1: Sampling Loops
For Part 1.1, I successfully implemented the forward process to add progressively increasing levels of noise to a clean image using a Gaussian distribution. This involved scaling the original image based on noise coefficients and adding noise sampled from a normal distribution, showcasing how the image degrades at specific timesteps (t=250, 500, 750).
1.1 Implementing the Forward Process
Noisy Image at t = 250

Noisy Image at t = 500

Noisy Image at t = 750

1.2 Classical Denoising
For Part 1.2, I applied Gaussian blur filtering to attempt denoising the noisy images created in Part 1.1. Although Gaussian blur smoothens some noise, it struggles to restore fine details, highlighting the limitations of classical denoising techniques compared to diffusion models.
Noisy Image at t = 250

Denoised Image at t = 250

Noisy Image at t = 500

Denoised Image at t = 500

Noisy Image at t = 750

Denoised Image at t = 750

In Part 1.3, I cleaned up noisy images from Part 1.2 at timesteps t = [250, 500, 750]. Using the UNet model, I estimated the noise in each noisy image and removed it by scaling the noise properly. This gave me a cleaner version of the original image. I visualized the results, showing the original image, the noisy version, and the cleaned-up estimate to see how well the model performed.
1.3 One-Step Denoising
Original Image (t=250)

Original Image (t=500)

Original Image (t=750)

Noisy Image (t=250)

Noisy Image (t=500)

Noisy Image (t=750)

Denoised Image (t=250)

Denoised Image (t=500)

Denoised Image (t=750)

1.4 Iterative Denoising
Instead of removing noise in one step, I removed it gradually over several steps. This allowed the image to get cleaner little by little. By skipping some steps, I sped up the process while still getting good results. This method worked much better than doing everything in one go or using basic methods like blurring.


1.5 Image Generation
I started with complete noise (just random pixels) and used the denoising steps to create entirely new images. The model turned the noise into clear and realistic pictures. This showed how the model can generate something from nothing.


1.7 Noise Levels
I took an existing image, added some noise, and then removed it. This made the model "rethink" the image and change it slightly. Adding only a little noise kept the edits small, while more noise created bigger changes. I tried this with regular pictures and hand-drawn ones.
Noise Level: 1

Noise Level: 3

Noise Level: 5

Noise Level: 7

Noise Level: 10

Noise Level: 20

1.7.1 Timesteps
Visualizing cleaned images at different timesteps.
Timestep: 1

Timestep: 3

Timestep: 5

Timestep: 7

Timestep: 10

Timestep: 20

1.7.3 Custom Images
This was similar to the last part, but I added text instructions to guide the changes. For example, I could make an image look like "a rocket ship" by giving the model that instruction. The model followed the text prompt while fixing the noise.
Custom Timestep: 1

Custom Timestep: 3

Custom Timestep: 5

Custom Timestep: 7

Custom Timestep: 10

Custom Timestep: 20

1.8 Diffusion Outcomes
Compared outcomes across different parameters to evaluate the final model's efficiency(had a bug I couldn't fix)
Outcome 1

Outcome 2

Outcome 3

1.10 Additional Results
Additional generated images at varying timesteps(had a bug I couldn't fix)
Result 1

Result 2

Result 3

Part 2: Training
2.1 Adding Time Conditioning to UNet
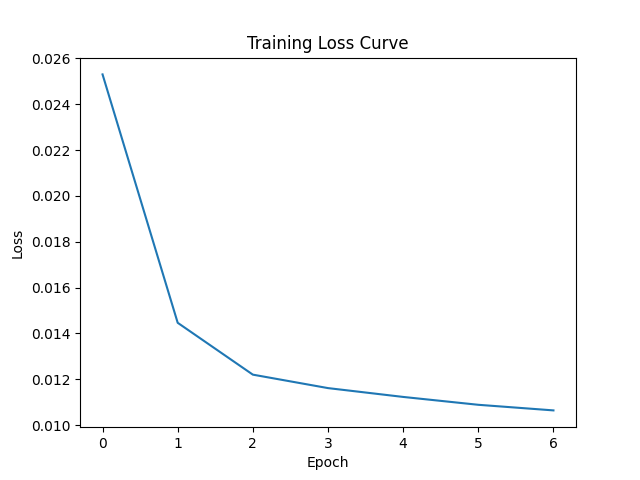
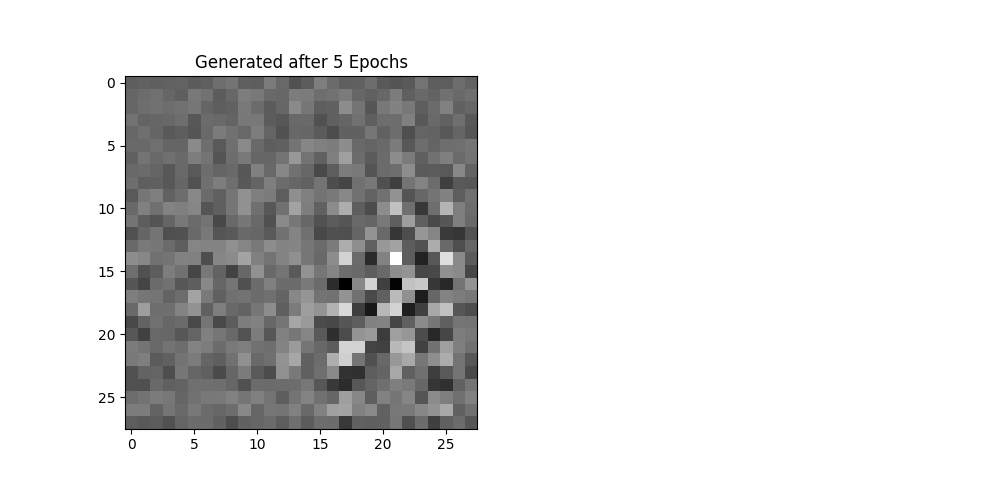
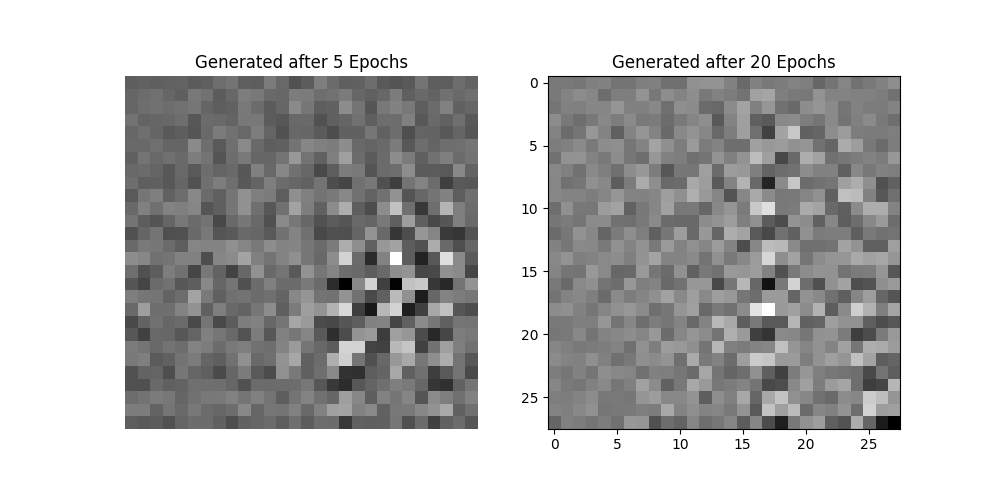
I trained a time-conditioned UNet model. This training process enabled the model to predict noise at different timesteps. The loss curve and generated outputs after specific epochs illustrate the model's progress.
Training Loss Curve

Generated Samples After 5 Epochs

Generated Samples After 20 Epochs

2.2 Iterative Noise Reduction
I experimented with the gradual reduction of noise over multiple timesteps. Below are the results showing how the model progressively refines the images.
Step 0

Step 60

Step 210

Step 360

Step 510

Step 660

2.3 Comparing Outputs Across Epochs
By visualizing outputs after training for different numbers of epochs, we can see the model's improvements in generating realistic outputs from noisy inputs.
Output After 5 Epochs

Output After 20 Epochs

2.5 Class-Conditional Sample Generation
I generated samples for each digit class using a class-conditional UNet after training for 5 and 20 epochs. The generated images demonstrate how the model improves its ability to generate realistic outputs with more training.
Generated Samples After 5 Epochs

Generated Samples After 20 Epochs
